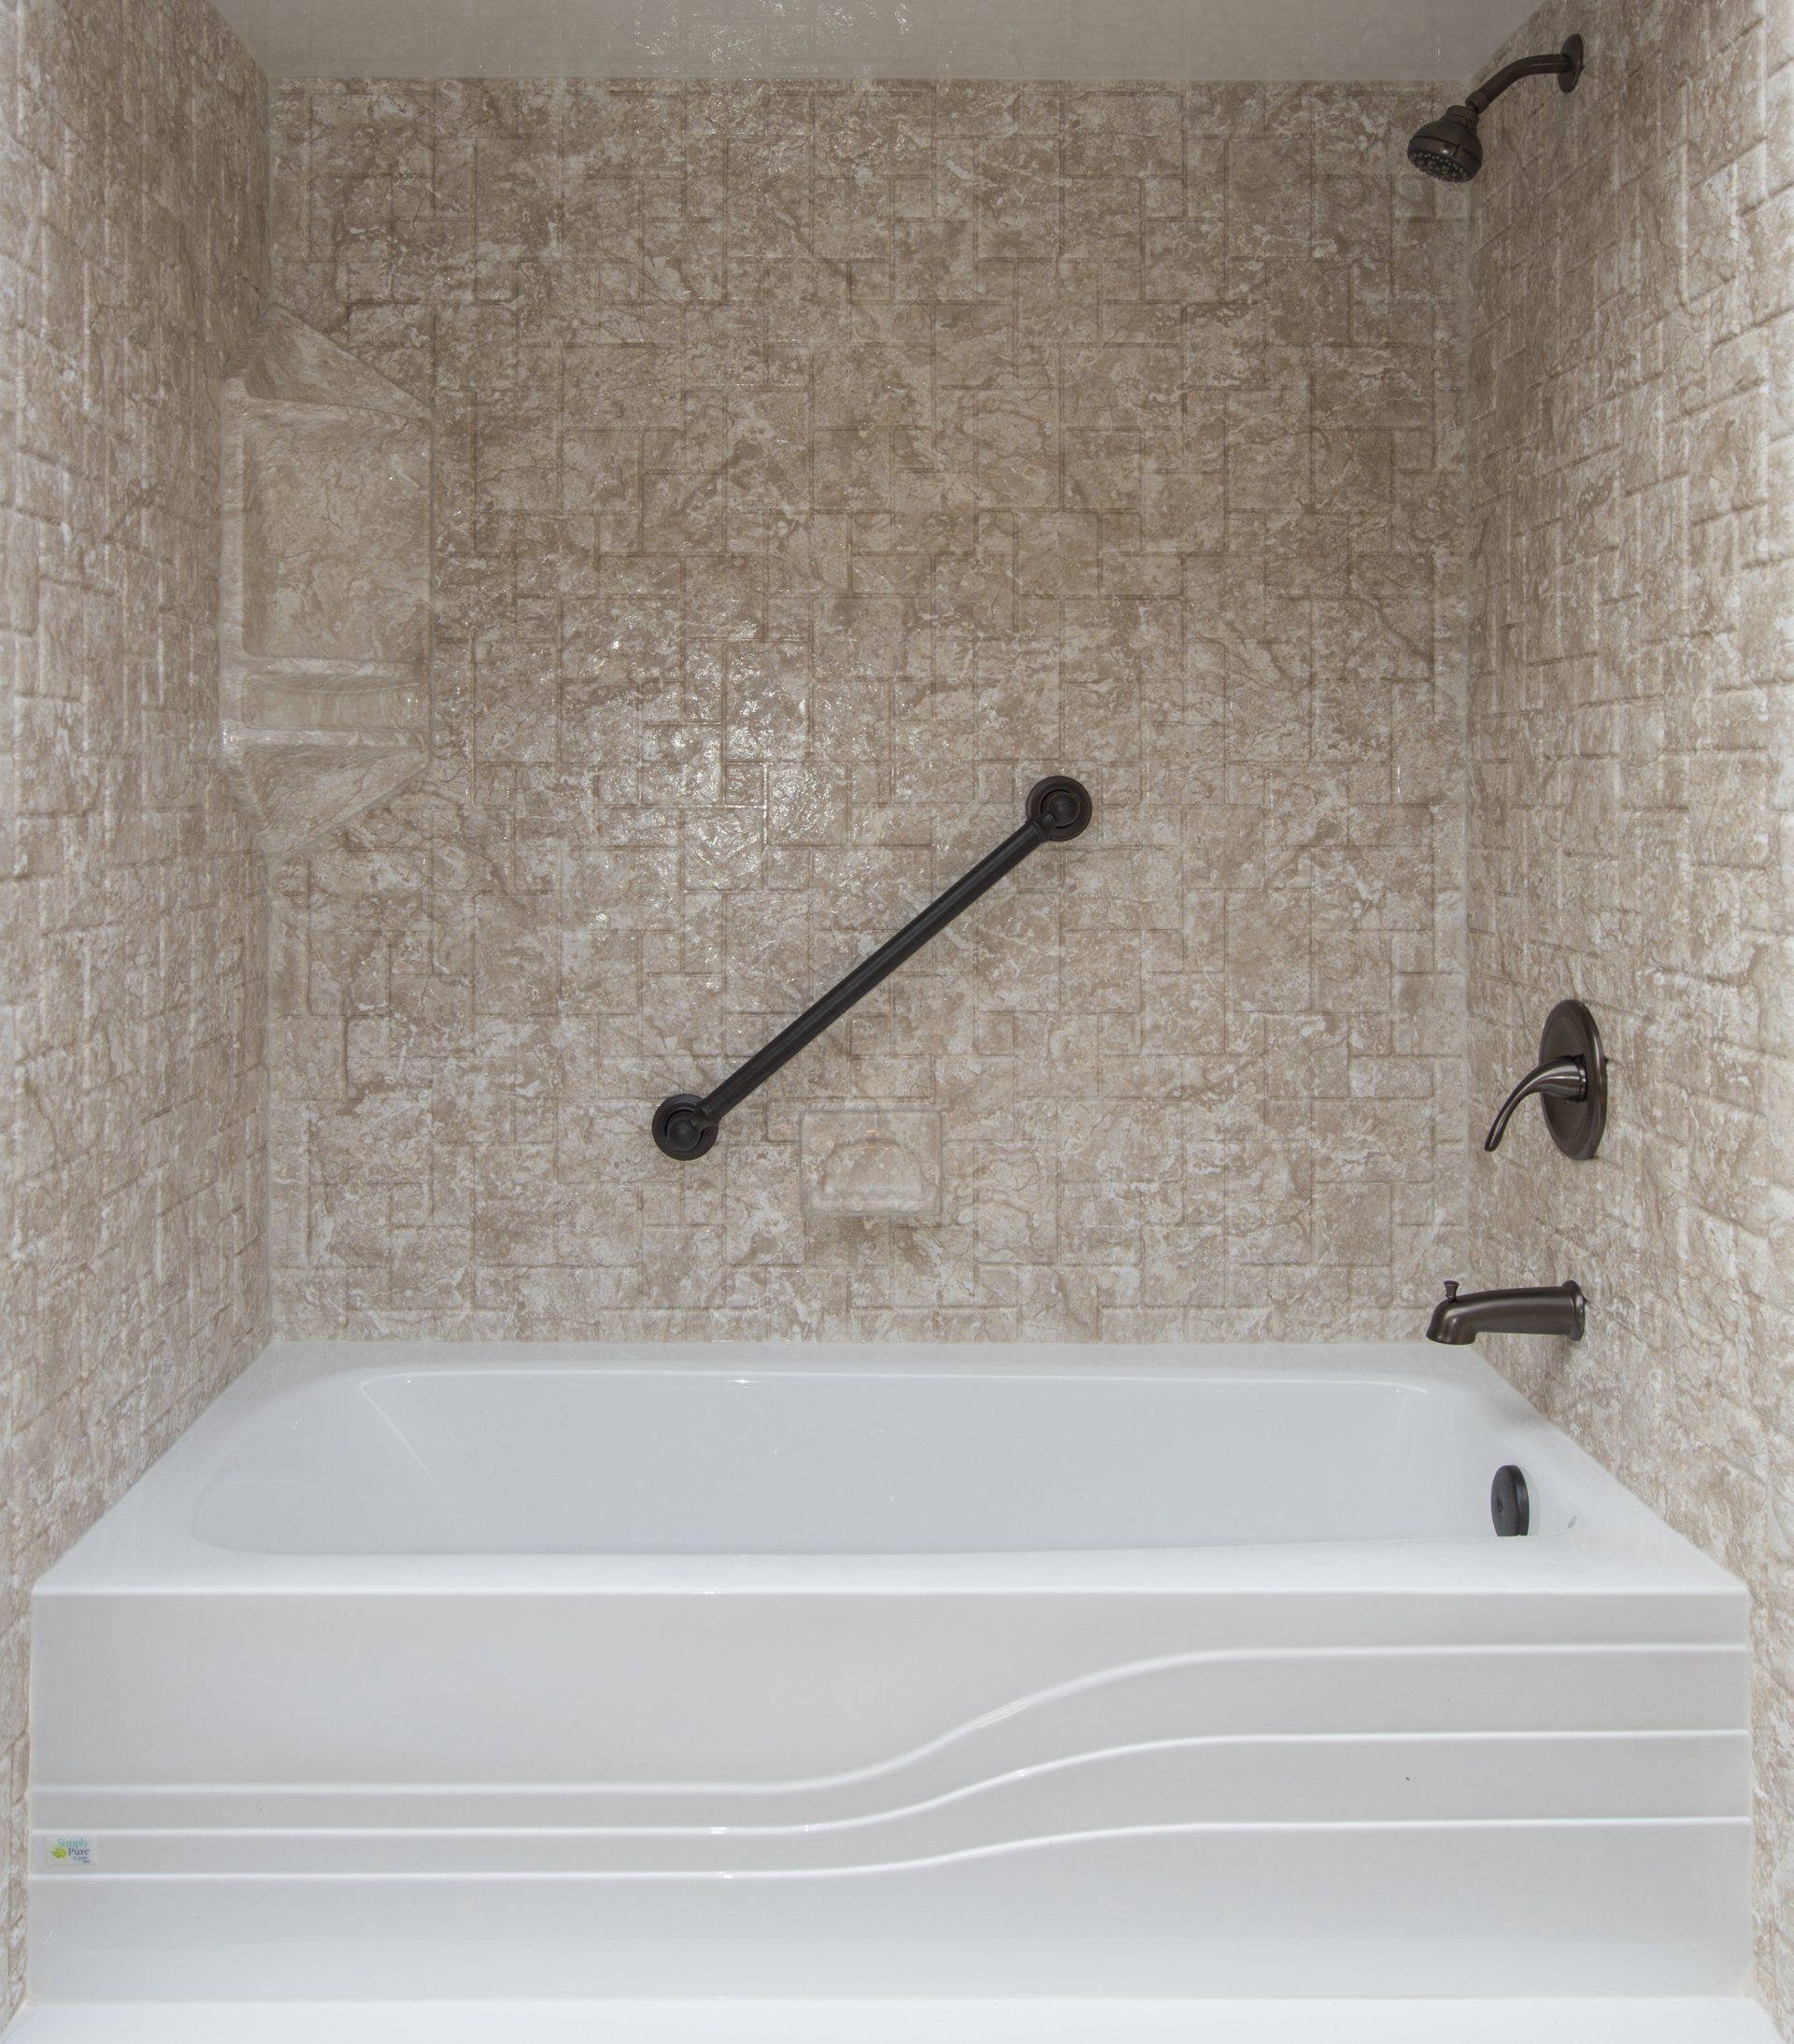
A Step-by-Step Guide on How to Install a Replacement Bathtub
When it comes to upgrading your bathroom, replacing your old bathtub with a new one can make a world of difference in both aesthetics and functionality. But, let’s face it, the idea of installing a replacement bathtub can feel a bit overwhelming. Don’t worry—we’re here to help you through the process with some friendly advice and practical steps.
Before you jump into the installation itself, the most crucial phase is preparation. Trust me, taking the time to get everything set up properly will save you a ton of headaches down the road. First things first—measure your existing bathtub space. You’ll want to make sure that the replacement tub you’ve selected will fit perfectly. Measure the length, width, and depth of your current tub. It’s also a good idea to note the drain location, as this will impact your choice of the new tub and any plumbing adjustments.
Once you've got your measurements, it's time to choose the right bathtub for your space. There are various styles and materials to choose from, so think about what fits best with your bathroom’s existing décor and your personal needs. For instance, if you’re looking to create a more accessible space, a walk-in tub might be the perfect option. Or, if you’re aiming for a sleek, modern look, a freestanding bathtub could be your go-to.
Now, let’s talk about tools and materials. Before you start ripping out the old tub, make sure you’ve got everything you need on hand. Trust me, there’s nothing worse than getting halfway through a project and realizing you’re missing a critical tool. You’ll need a utility knife, a pry bar, a pipe wrench, a caulk gun, and of course, your new bathtub, among other things. Depending on the condition of your bathroom, you might also need to pick up some replacement plumbing fixtures or new wall tiles.
Another essential part of preparation is ensuring that you have a plan for waste disposal. Removing an old bathtub can be a messy job, and you’ll need to figure out how to get rid of the debris. Some local municipalities offer bulk pickup services, or you could rent a dumpster for the day. Either way, plan ahead so you’re not stuck with a giant tub sitting in your driveway for days on end.
Finally, don’t forget to turn off the water supply before you start any work. This might seem like a no-brainer, but you’d be surprised how easy it is to overlook in the excitement of getting started. Also, protect your floors and walls with drop cloths to avoid any accidental damage during the removal process.
With these preparation steps under your belt, you’re well on your way to a successful bathtub replacement. In the next part, we’ll dive into the actual removal of your old tub, but for now, take a moment to gather your tools, double-check your measurements, and make sure you’re fully prepared for the task ahead.
Removing the Old Bathtub
Alright, now that you’re all prepped and ready to go, it’s time to tackle the removal of your old bathtub. This is where the real fun begins, but don’t worry, I’m here to guide you through each step.
The first thing you’ll want to do is disconnect the plumbing. Start by removing the drain cover and using a pipe wrench to loosen and remove the drain flange. If your tub has a separate overflow drain, you’ll need to unscrew that as well. Once the drains are disconnected, use the same wrench to loosen the supply lines leading to the faucet. Keep in mind that there may still be some water in the pipes, so have a bucket and some towels handy to catch any drips.
Next up is removing the tub surround, if you have one. A lot of older tubs are installed with a tile surround or some kind of wall paneling. Using a utility knife, carefully cut through any caulk or adhesive around the edges of the surround. Once that’s done, you can use a pry bar to gently remove the tiles or panels. Be cautious as you do this—you don’t want to accidentally damage the wall behind them, especially if you plan to reuse it for your new tub.
With the surround out of the way, you should now have clear access to the tub itself. If your bathtub is secured to the wall studs, you’ll need to locate and remove the nails or screws holding it in place. In most cases, you’ll find these along the edges where the tub meets the wall. Use your pry bar and hammer to carefully remove the fasteners, being mindful of any hidden ones that might be holding the tub in place.
Now comes the heavy lifting—literally. Most bathtubs are fairly heavy, especially if you’re dealing with a cast iron model. If you have help, this is the time to call in reinforcements. If you’re doing it solo, you may want to consider breaking the tub into smaller pieces with a sledgehammer, making it easier to carry out. Just make sure to wear proper safety gear like goggles and gloves to protect yourself from flying debris.
Once the tub is free from its fasteners and any surrounding caulk, you can carefully lift it out of place. Be sure to take your time here; you don’t want to damage the walls or floors as you maneuver the tub out of the bathroom. If space is tight, you might need to angle the tub to get it through the doorway. Again, this is where having an extra set of hands can make a big difference.
After the old tub is removed, you’ll probably be left with a bit of a mess. Take a moment to clean up any debris and inspect the area for damage. Look for any signs of mold, water damage, or structural issues that need to be addressed before you install the new tub. This is also a good time to check the condition of your plumbing and make any necessary repairs or upgrades.
With the old tub out and the area prepped, you’re now ready to move on to the installation phase. In the next part, we’ll walk through the steps of positioning and securing your new bathtub, ensuring it’s level and ready for use.
Installing the New Bathtub
Now that the old tub is out of the way and the space is prepped, it’s time for the exciting part—installing your brand-new bathtub! This is where your hard work pays off as you start to see your bathroom transformation take shape.
The first step in installing your new bathtub is to position it correctly in the alcove or space where the old tub was. Carefully move the new tub into place, making sure the drain and overflow align with the existing plumbing. If the tub is too heavy to move on your own, don’t hesitate to ask for some help. It’s important to avoid damaging the tub or surrounding walls during this process, so take it slow and steady.
Once the tub is in position, it’s time to check for levelness. Grab your trusty level and place it along the edges of the tub, both lengthwise and widthwise. Adjust the tub as needed to ensure it’s perfectly level. This step is crucial because an uneven tub can lead to drainage problems or even cause the tub to shift over time. If your floor isn’t perfectly level, you might need to use shims under the tub’s feet or edges to get everything aligned just right.
With the tub level and in position, the next step is to secure it to the wall studs. Most bathtubs come with flange edges that allow you to attach the tub directly to the studs using screws or nails. Carefully drive the fasteners through the flanges and into the studs, being careful not to over-tighten them, which could cause the flange to crack. If your tub came with manufacturer’s instructions, be sure to follow those closely for the best results.
Once the tub is securely fastened, it’s time to reconnect the plumbing. Start by attaching the drain assembly, making sure it’s properly sealed to prevent any leaks. Apply plumber’s putty around the drain flange and tighten it securely. Next, connect the overflow drain, ensuring that it’s also watertight. Finally, reattach the water supply lines to the faucet, tightening them with your wrench but being careful not to over-tighten.
At this point, it’s a good idea to test the plumbing connections before moving on to the next steps. Turn on the water supply and let the tub fill up a bit to check for any leaks around the drain or faucet connections. If everything looks good, you’re ready to proceed. If you notice any leaks, address them now before continuing.
With the plumbing in place, you can now turn your attention to finishing the installation. This includes sealing the edges of the tub with silicone caulk to prevent water from seeping behind it and causing damage. Run a bead of caulk along the edges where the tub meets the wall, using your finger or a caulk tool to smooth it out for a clean, professional finish. Allow the caulk to dry completely before using the tub.
Finally, if your new bathtub installation included replacing or installing a new surround or wall panels, now is the time to complete that step. Follow the manufacturer’s instructions to attach the surround or panels, ensuring a tight seal to keep water out. Once that’s done, give everything one last check to make sure all components are secure and watertight.
Congratulations—you’ve successfully installed your new bathtub! With the tub in place and everything securely connected, your bathroom is one step closer to being the safe, stylish, and functional space you’ve been dreaming of. In the next part, we’ll cover some finishing touches and tips for maintaining your new bathtub so that it stays looking and performing its best for years to come.
Finishing Touches and Final Checks
With your new bathtub securely installed and the plumbing connections in place, it's time to add those finishing touches that will make your bathroom look polished and complete. This part of the process is all about the details, so take your time to ensure everything is just right.
Start by reattaching any trim or molding that was removed during the installation process. If you had to take off any baseboards or door casings, now is the time to put them back in place. Use a nail gun or finishing nails to secure them, and apply a bit of wood filler to cover any holes. Once that’s done, you can touch up the paint or stain as needed to blend everything seamlessly with the rest of the bathroom.
Next, if your project involved installing a new surround or tiling around the bathtub, this is the time to finish up those areas. If you opted for a tile surround, make sure all the tiles are securely adhered and grout the joints between them. Use a grout float to push the grout into the gaps, then wipe away any excess with a damp sponge. After the grout has dried, apply a grout sealer to protect it from moisture and stains.
For those who installed a prefabricated surround, double-check that all panels are securely attached and properly sealed. Pay special attention to the corners and edges where water is most likely to seep in. Use a bead of silicone caulk along all seams and joints to ensure a watertight finish. Smooth the caulk with your finger or a caulk tool, wiping away any excess for a clean look.
Now, let’s talk about the faucet and showerhead. If you’ve upgraded these fixtures as part of your bathtub replacement, make sure they’re securely installed and functioning correctly. Turn on the water and test both the faucet and showerhead to ensure they’re working as expected. Check for consistent water pressure and temperature, and make sure there are no leaks around the connections.
Don’t forget about the drain stopper! Whether you have a pop-up, lever, or plug-style stopper, ensure it’s properly installed and working smoothly. Test it by filling the tub with water and then draining it to make sure the stopper creates a good seal and releases as it should.
Once everything is in place and functioning correctly, take a moment to clean up the area. Remove any protective coverings, sweep up any debris, and give the tub a good cleaning to remove any dust or smudges from the installation process. A clean and shiny tub will make your bathroom feel fresh and inviting, ready for its first use.
Finally, do a thorough walkthrough of the entire bathroom to ensure everything is just as it should be. Check that all caulk is smooth and dry, all fixtures are securely fastened, and all surfaces are clean. This final check will give you peace of mind knowing that your new bathtub installation was a success.
With the finishing touches in place, your bathroom is almost complete. In the final part, we’ll discuss some essential maintenance tips to keep your new bathtub looking great and functioning perfectly for years to come. Stay tuned for some practical advice on caring for your new investment!
Maintaining Your New Bathtub for Long-Lasting Beauty and Functionality
Congratulations! You’ve successfully installed your new bathtub, and your bathroom is looking better than ever. But the journey doesn’t end here—proper maintenance is key to ensuring that your bathtub remains in top condition for years to come. In this final part, we’ll share some practical tips to help you maintain your new investment, keeping it as beautiful and functional as the day it was installed.
1. Regular Cleaning:
One of the simplest and most effective ways to maintain your bathtub is by keeping it clean. Regular cleaning prevents soap scum, mold, and mildew from building up, which can not only make your tub look dingy but also damage the surface over time. Use a non-abrasive cleaner and a soft cloth or sponge to wipe down the tub after each use. Avoid using harsh chemicals or abrasive scrubbing pads, as these can scratch the surface, especially if your tub is made of acrylic or fiberglass.
2. Preventing Stains:
Certain substances, such as hair dye, bath oils, and some cleaning products, can stain your bathtub if not cleaned up promptly. If you spill any potentially staining substances in your tub, be sure to rinse it out immediately with warm water. For stubborn stains, a paste made from baking soda and water can be gently applied to the area and left to sit for a few minutes before wiping away.
3. Protecting the Finish:
To keep your bathtub’s finish looking like new, it’s important to protect it from damage. Avoid dropping heavy objects in the tub, as this can cause chips or cracks in the surface. If you use a bathmat, make sure it has a non-slip backing that won’t scratch the tub. Additionally, when cleaning, steer clear of using metal tools or hard brushes that could mar the finish.
4. Maintaining the Caulking:
The caulking around your bathtub plays a critical role in preventing water from seeping into the walls and causing damage. Over time, caulk can wear down or develop cracks, which can lead to leaks and mold growth. Inspect the caulking regularly and reapply it as needed to maintain a watertight seal. If you notice any mold or mildew on the caulk, clean it promptly with a bleach solution or replace the affected area to prevent further growth.
5. Checking for Leaks:
Even with the best installation, it’s a good idea to periodically check your bathtub for leaks. Inspect the plumbing connections, drain, and overflow areas to ensure everything is secure and watertight. If you notice any drips or water pooling around the base of the tub, address the issue immediately to prevent water damage to your floors or walls. Early detection and repair can save you from costly repairs down the line.
6. Addressing Minor Repairs:
Minor issues like small chips, scratches, or loose fixtures are bound to happen over time. Address these minor repairs as soon as they arise to prevent them from turning into bigger problems. For small chips or scratches, you can find repair kits that match your bathtub’s material and color. Tighten any loose fixtures promptly to avoid further damage or leaks.
7. Enjoying Your New Bathtub:
Finally, don’t forget to enjoy your new bathtub! After all the hard work and effort you’ve put into installing it, take some time to relax and unwind in your new space. Whether it’s a long soak after a tiring day or a quick shower to start your morning, your new tub is ready to provide you with comfort and convenience for years to come.
By following these maintenance tips, you can ensure that your new bathtub remains a stunning and functional centerpiece in your bathroom. Regular care and attention will not only keep it looking great but also extend its lifespan, allowing you to enjoy the benefits of a safe, stylish, and accessible bathing space for many years.
If you run into any issues, contact us at Cloud 9 and we'll be happy to help!
Blog
