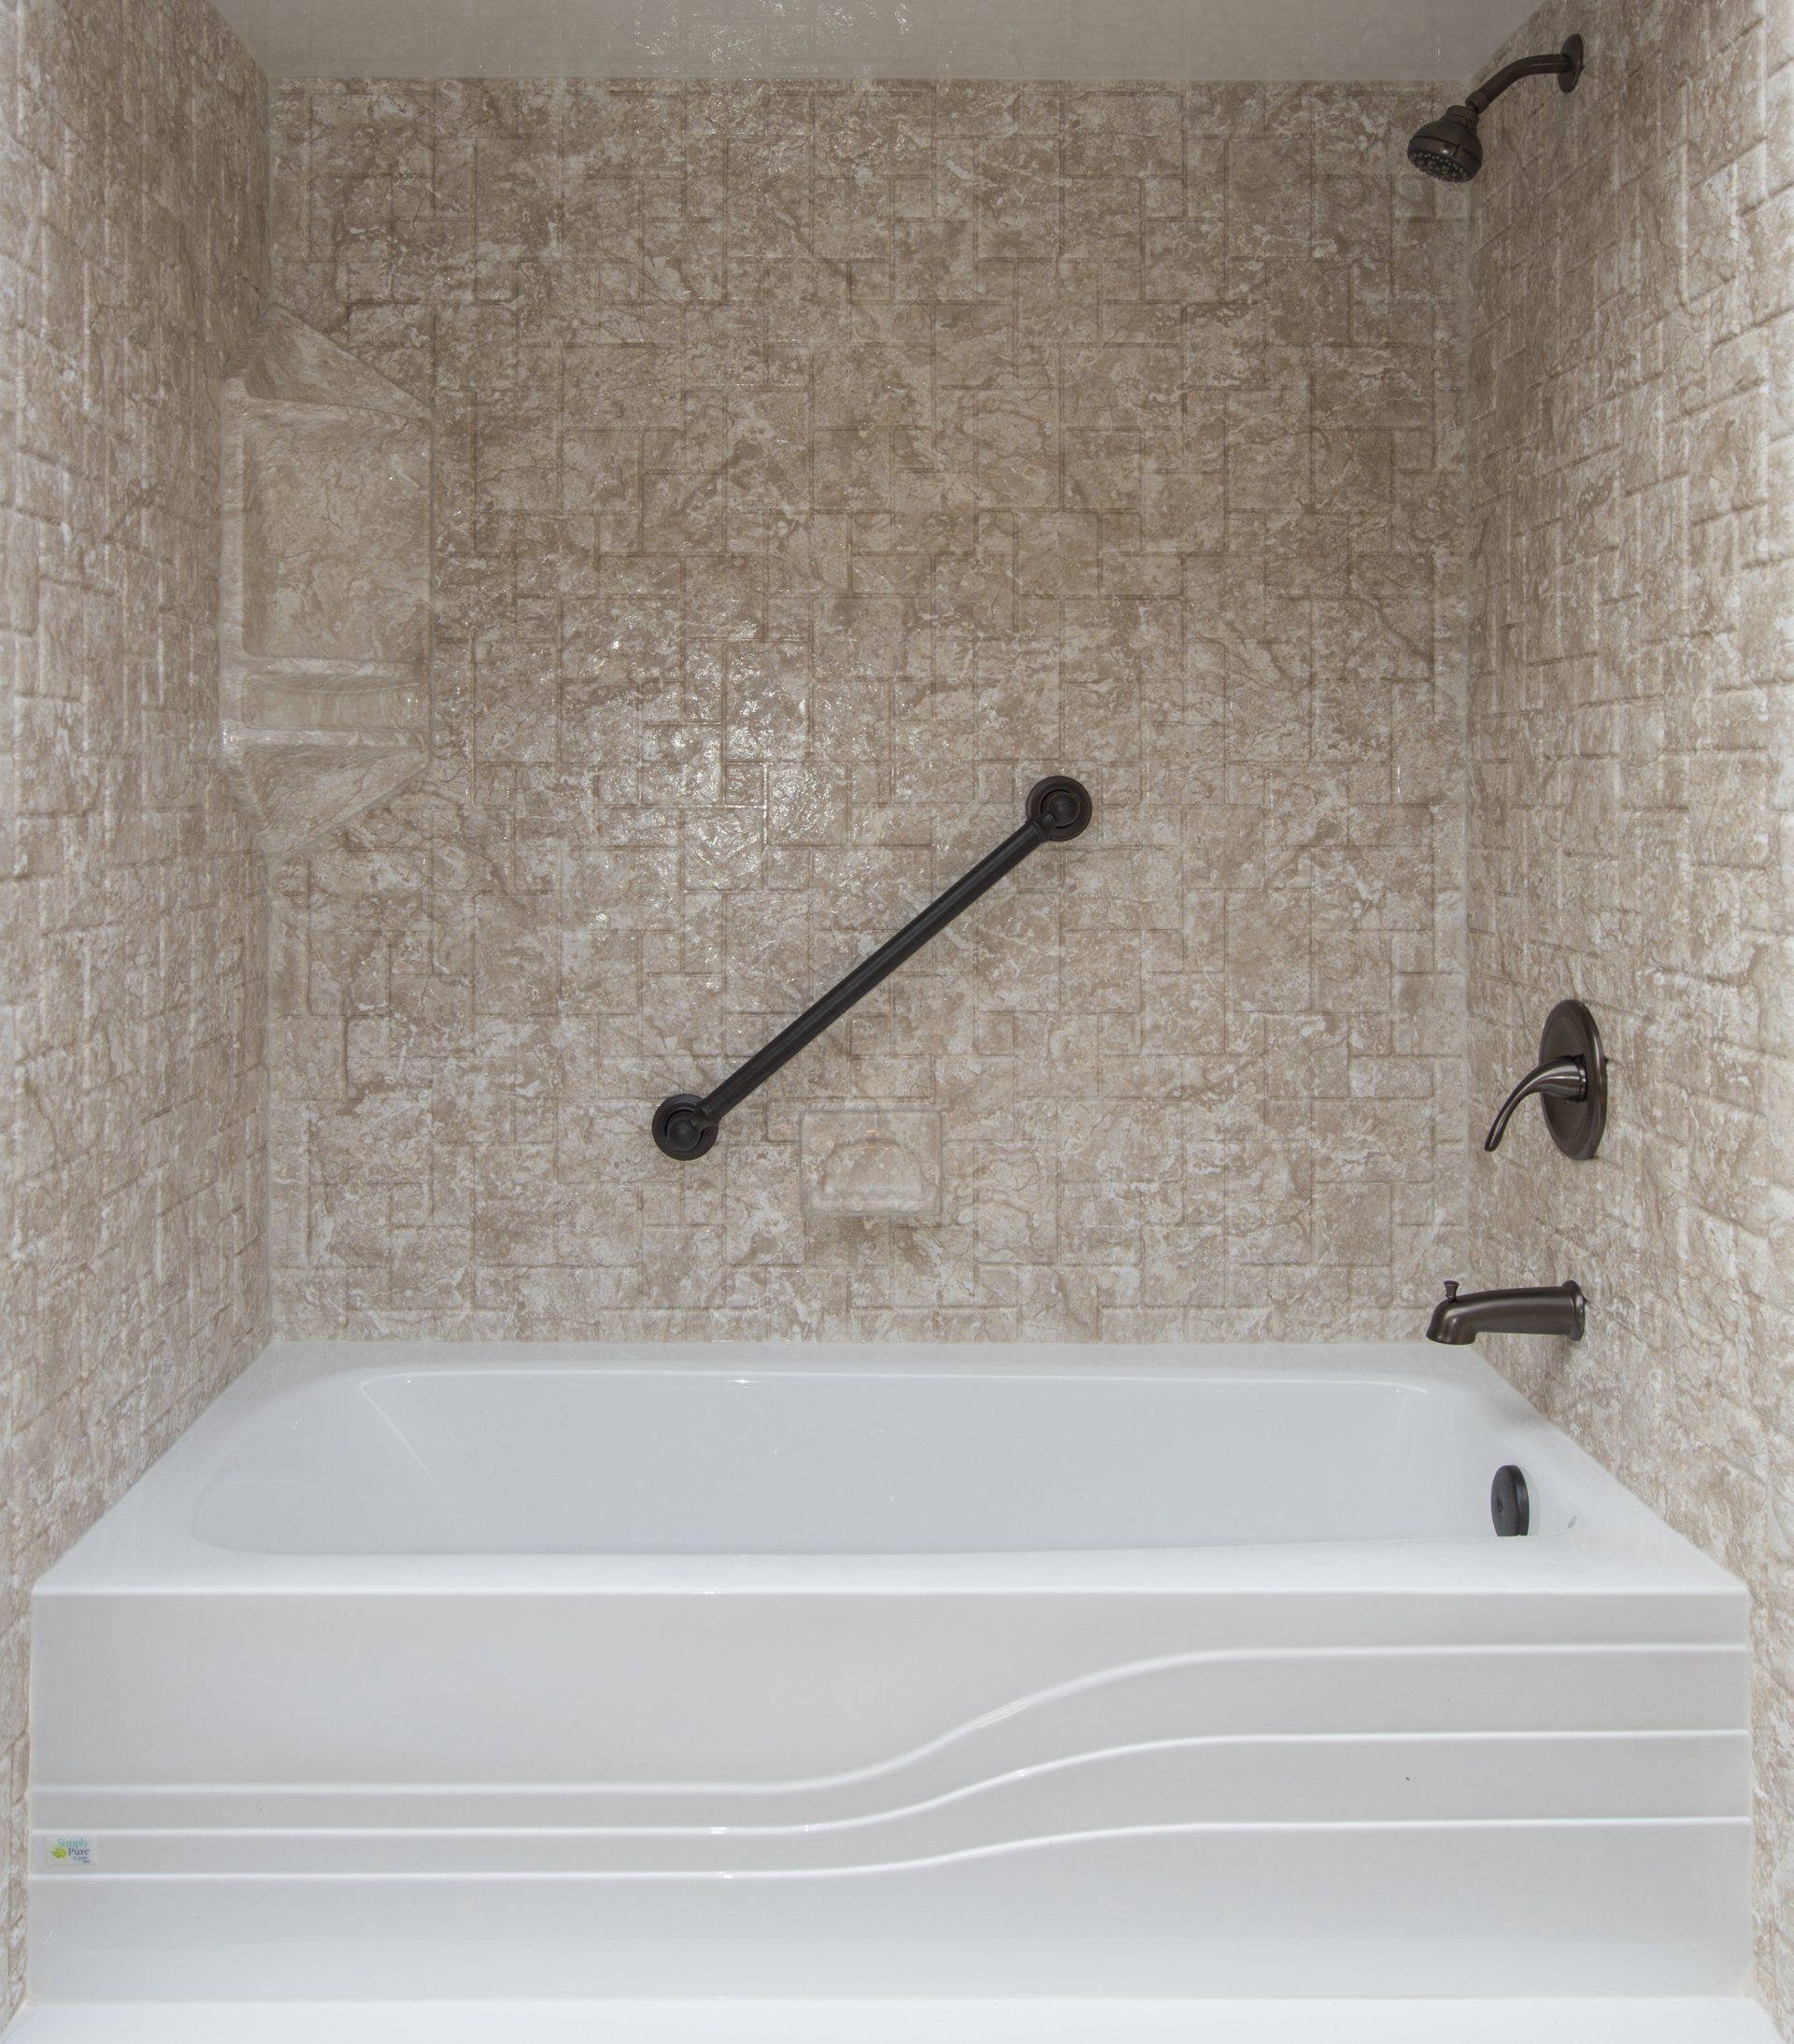
How to Measure a Bathtub for Replacement: A Step-by-Step Guide
So, you’ve decided it’s time to replace your old bathtub. Maybe it’s seen better days, or perhaps you’re ready to upgrade to something safer and more accessible, like a walk-in tub. Whatever your reason, one of the first steps you’ll need to tackle is measuring your bathtub. Don’t worry if you’re not a pro at this—by the end of this guide, you’ll be measuring like a seasoned contractor. Let’s dive into the basics before we grab that tape measure.
Why Accurate Measurements Matter
When it comes to replacing a bathtub, accurate measurements are crucial. Imagine ordering a brand-new tub, only to find out it doesn’t fit the space you have. Not only is that frustrating, but it can also be costly in terms of time and money. Getting the measurements right from the start ensures that your new tub fits perfectly and that the installation process goes smoothly. Plus, precise measurements help avoid any last-minute surprises during installation, which is something everyone can appreciate.
Tools You’ll Need
Before you start measuring, make sure you have the right tools on hand. The good news is that you won’t need anything too fancy—just some basic items that you probably already have around the house:
- A tape measure: Preferably one that’s at least 12 feet long to give you plenty of room to work with.
- A notepad and pen: To jot down your measurements and any notes you might need later.
- A level: This isn’t strictly necessary, but it can be helpful to ensure your measurements are accurate, especially if you’re dealing with uneven surfaces.
- A helper: Measuring a bathtub can be a bit tricky on your own, so having an extra set of hands can make the job easier.
Measuring the Length and Width
Now that you’ve got your tools ready, let’s start with the most straightforward measurements: the length and width of your current bathtub. These are the two primary dimensions you’ll need when looking for a replacement.
Length:
Start by measuring the length of your bathtub from one end to the other, running your tape measure along the edge that meets the wall. Make sure to measure from the outside edge of the tub, not the inside. This will give you the full length, which is essential for finding a replacement that fits properly.
Width:
Next, measure the width of the tub. For this, you’ll want to measure from the back wall (where the tub meets the tiles or enclosure) to the front edge of the tub. Again, be sure to measure from the outside edge. This will give you the width, which, along with the length, is one of the most important dimensions to know when shopping for a new tub.
A Quick Tip for Success
One thing to keep in mind while measuring is to always double-check your numbers. It’s easy to misread a tape measure or forget a critical detail, so taking a moment to review your measurements can save you from potential headaches down the line. And remember, when in doubt, it’s always better to over-measure than to underestimate.
Now that you’ve got the basics covered, and the length and width measurements in hand, you’re one step closer to choosing the perfect replacement bathtub. In the next part of this guide, we’ll get into the nitty-gritty of measuring depth, drain location, and other critical factors that will ensure your new tub fits like a glove.
Measuring Bathtub Depth and Drain Location
Now that you’ve got the length and width of your bathtub measured, it’s time to move on to some of the finer details—depth and drain location. These measurements are just as important as the basics, especially if you’re considering upgrading to a different style of tub, like a deep soaking tub or a walk-in tub. Let’s break it down step by step.
Measuring the Depth of Your Bathtub
The depth of your bathtub is crucial, particularly if you’re looking to replace it with a tub that offers a different bathing experience. The depth not only affects how much water the tub can hold but also plays a role in how easy it is to get in and out—an important consideration if you’re aiming for a safer, more accessible bathroom.
Here’s how to measure the depth:
1. Start at the Bottom:
Place your tape measure at the bottom of the tub, right at the drain. You want to measure straight up to the top edge of the tub, which is known as the rim. Be sure to measure from the inside of the tub, not the outside.
2. Take Note of the Rim:
Measure from the bottom to the highest point of the rim. This is your tub’s full depth. If you’re replacing your tub with a deeper one, this measurement will help you understand how much more water your new tub can hold.
3. Check the Water Depth Line:
Some bathtubs have a water depth line, indicating the maximum fill level. If your tub has this, it’s worth measuring from the bottom of the tub to this line, as it gives you a realistic idea of how deep your baths will be.
Determining the Drain Location
Next up is the drain location. This is a critical measurement because the position of the drain in your new tub needs to match the location of the drain in your existing plumbing. Getting this wrong could mean costly plumbing adjustments, so it’s worth taking the time to get it right.
Here’s what you need to do:
1. Locate the Drain:
First, identify whether your drain is on the left side, right side, or center of the tub. This is typically referred to as the “handedness” of the tub (left-hand or right-hand drain).
2. Measure the Distance from the End:
Measure from the end of the tub (where the drain is located) to the center of the drain opening. This measurement will help ensure that your new tub’s drain aligns perfectly with your current plumbing.
3. Measure from the Back Wall:
It’s also important to measure the distance from the back wall to the center of the drain. This will help you understand how far the drain is from the wall and ensure a good fit for your new tub.
Considering the Overflow Drain
Don’t forget about the overflow drain, which prevents water from spilling over the edge of the tub. This is usually located a few inches below the rim on the same side as the main drain. While measuring, take note of its position relative to the main drain, as this will also need to align with your new tub’s overflow.
Why These Measurements Matter
Taking the time to accurately measure the depth and drain location can save you a lot of trouble down the road. Whether you’re opting for a standard tub or a specialized option like a walk-in tub, these measurements ensure that your new bathtub fits perfectly and functions properly without requiring extensive plumbing work.
With the depth and drain location measurements in hand, you’re well on your way to selecting the right replacement tub. In the next part of our guide, we’ll cover how to measure for the bathtub surround and other important aspects of ensuring your new tub fits seamlessly into your bathroom space.
Measuring the Bathtub Surround and Ensuring a Perfect Fit
You’ve got the length, width, depth, and drain location all measured—fantastic! Now it’s time to focus on the area around your bathtub, commonly referred to as the bathtub surround. This step is essential because your new tub needs to fit not just within the space, but also harmoniously with the walls and any surrounding tiles or panels. Let’s get into how to measure and plan for the perfect fit.
Measuring the Bathtub Surround
The surround area is the space directly around the bathtub, usually including the walls that enclose it. Proper measurements here are crucial, especially if you’re considering adding new tiles, panels, or a tub surround kit as part of your bathtub replacement.
Here’s how to measure the surround:
1. Measure the Height of the Walls:
Start by measuring the height of the walls from the floor to the ceiling, or at least to the height where your wall tiles or panels end. This will give you an idea of the vertical space available for your tub surround.
2. Measure the Width of the Surround Area:
Next, measure the width of the surround area. This is typically the distance from one sidewall to the other, covering the width of the tub. If your tub is nestled into a three-wall alcove, measure the width from wall to wall at both the front (by the opening) and the back (where the tub meets the back wall) to ensure that everything is even.
3. Measure the Depth of the Surround Area:
Finally, measure the depth of the surround, which is the distance from the front edge of the tub to the back wall. If your tub is set into an alcove, this will be the depth of the alcove from the open side to the back wall.
Considerations for Tile or Panel Replacement
If you’re planning on replacing the tiles or panels around your tub, these measurements become even more critical. You’ll need to ensure that your new tub fits comfortably within the space and that any new tiling or panels align with the existing structure.
Here’s what to keep in mind:
1. Tile Thickness:
If you’re adding new tiles, remember to account for the thickness of the tiles and the adhesive. This might seem minor, but it can impact how flush your tub sits against the walls. Measure the existing tiles if you plan to replace them with something of similar thickness, or adjust your measurements if you’re opting for something thicker or thinner.
2. Panel Placement:
For those considering tub surround panels instead of tiles, measure carefully to ensure that the panels will fit properly within the space. You’ll want to avoid any gaps between the panels and the tub, as this can lead to water leakage and other issues down the line.
3. Aligning with Fixtures:
Don’t forget to account for any fixtures like faucets, showerheads, or handles that might need to be adjusted or moved to fit with your new tub and surround. Accurate measurements will help you plan for any necessary adjustments.
Ensuring a Seamless Fit
Ensuring that your new bathtub and surround fit seamlessly is not just about measurements—it’s about planning and attention to detail. Double-check your measurements, and consider any potential obstacles, such as uneven walls, that might require adjustments. This is where working with professionals like the team at Cloud 9 Tubs can really make a difference, as they can help navigate any challenges that arise.
A Quick Word on Installation
One of the benefits of working with a company like Cloud 9 Tubs is our low-impact installations, often completed in just one day. Proper measurements help make this possible, ensuring that everything fits perfectly the first time. So, whether you’re handling the installation yourself or leaving it to the experts, these measurements will play a key role in the smooth, successful transformation of your bathroom.
With the surround area measured and considerations in mind for tiling or panels, you’re another step closer to a beautiful new bathtub. In the next part of this guide, we’ll explore the finer details of ensuring your bathtub replacement is both functional and stylish, including tips for choosing the right materials and finishes.
Choosing the Right Materials and Finishes for Your Bathtub Replacement
With all the measurements taken care of, it’s time to focus on the fun part—choosing the materials and finishes for your new bathtub. This is where you can really let your style shine while ensuring that your bathroom is both functional and aesthetically pleasing. Let’s explore the different options available and how to choose the best ones for your space.
Material Matters: Finding the Perfect Tub
When it comes to bathtub materials, there are several options to consider, each with its own set of benefits. The material you choose will impact not just the look and feel of your tub, but also its durability, ease of maintenance, and overall comfort.
Here are some popular bathtub materials:
1. Acrylic:
Acrylic tubs are a popular choice for good reason. They’re lightweight, making them easier to install, and they come in a wide range of styles and colors. Acrylic is also resistant to chipping and cracking, and its non-porous surface makes it easy to clean. If you’re looking for a durable, low-maintenance option, acrylic might be the way to go.
2. Fiberglass:
Fiberglass is another lightweight option that’s budget-friendly and easy to install. It’s a good choice if you’re looking for something affordable, but keep in mind that fiberglass is more prone to scratching and may require more frequent upkeep compared to other materials.
3. Cast Iron:
If you’re aiming for a classic, timeless look, a cast iron tub is worth considering. These tubs are incredibly durable and offer excellent heat retention, keeping your bath water warm for longer. However, they’re also very heavy, which can make installation more challenging and may require additional floor reinforcement.
4. Porcelain-enameled Steel:
Porcelain-enameled steel tubs offer a sleek, glossy finish that’s both elegant and durable. These tubs are resistant to scratching and chemicals, making them easy to maintain. However, like cast iron, they can be heavy and may chip if not handled carefully.
5. Stone Resin:
For a luxurious, spa-like experience, stone resin tubs are a stunning choice. They’re made from a blend of natural stone and resin, offering a unique look and feel. Stone resin tubs are durable, retain heat well, and can be crafted in various shapes and sizes, allowing for a high level of customization.
Finishing Touches: Selecting the Right Finish
Once you’ve chosen the material for your tub, it’s time to think about the finish. The finish you choose will influence the overall look of your bathroom and should complement both your personal style and the existing decor.
Consider these finishes for your new bathtub:
1. Glossy White:
A classic choice, a glossy white finish is clean, timeless, and versatile. It pairs well with almost any bathroom decor and can make your space feel brighter and more open. This finish is also easy to clean and maintain, making it a practical choice for busy households.
2. Matte Finish:
If you’re looking for something a bit more modern, a matte finish might be the right choice. Matte finishes have a soft, velvety texture that adds a touch of sophistication to your bathroom. They’re also less prone to showing water spots and fingerprints, which can be a bonus if you prefer a low-maintenance option.
3. Colored Finishes:
For those who want to make a bold statement, colored finishes can add a unique flair to your bathroom. Whether you choose a soft pastel or a vibrant hue, a colored bathtub can serve as a stunning focal point in your space. Just be sure to consider how the color will coordinate with the rest of your bathroom’s decor.
4. Textured Finishes:
Textured finishes, such as stone or wood-look, can add a natural, earthy vibe to your bathroom. These finishes work well in spa-inspired bathrooms, creating a calming and serene environment. They can also add a bit of traction, making the tub surface less slippery—a nice safety feature.
Balancing Style with Functionality
While it’s tempting to choose a tub based purely on looks, it’s important to balance style with functionality. Consider how you’ll be using the tub—whether it’s for quick showers, luxurious soaks, or providing a safe bathing solution for someone with mobility issues. At Cloud 9 Tubs, we specialize in providing personalized solutions that meet your specific needs without compromising on style.
The Importance of Quality
No matter what material or finish you choose, quality should always be a top priority. A high-quality tub will not only look beautiful but will also stand the test of time, providing you with years of comfort and relaxation. At Cloud 9 Tubs, we pride ourselves on offering products that are designed to last, with a lifetime warranty that ensures your investment is protected.
With your materials and finishes selected, you’re now ready to move on to the final step—planning the installation. In the next part of our guide, we’ll discuss how to prepare your bathroom for the installation process and what to expect on installation day.
Preparing for Installation Day and What to Expect
You’ve chosen the perfect bathtub, measured your space, and selected your materials and finishes—now it’s time to bring your vision to life! Installation day is just around the corner, and whether you’re handling the installation yourself or working with professionals like the team at Cloud 9 Tubs, proper preparation is key to a smooth and successful process. Let’s walk through the steps you should take to get your bathroom ready and what you can expect on the big day.
Pre-Installation Prep: Getting Your Bathroom Ready
Before the installation crew arrives or you begin the work yourself, there are a few things you’ll need to do to prepare your bathroom. These steps will help ensure that everything goes smoothly and that the installation process is as quick and efficient as possible.
1. Clear the Area:
Start by removing any items from the bathroom that might get in the way during installation. This includes toiletries, rugs, shower curtains, and anything else that could be a tripping hazard. It’s also a good idea to take down any wall decorations or mirrors that are close to the tub area to prevent damage.
2. Protect Your Floors and Walls:
Installation can get a bit messy, so take some time to protect your floors and walls. Lay down drop cloths or plastic sheeting to catch any debris, dust, or water that might spill during the process. If you’re concerned about potential scuffs or scratches, consider adding some extra padding or protection to your walls and doorways.
3. Turn Off the Water Supply:
This might seem obvious, but it’s a crucial step that’s easy to overlook. Make sure the water supply to your bathroom is turned off before the installation begins. This will prevent any accidental flooding or leaks during the removal of the old tub and the installation of the new one.
4. Check the Electrical Setup:
If your new tub includes features like jets, a heater, or lighting, you’ll need to ensure that your bathroom’s electrical setup is ready. Make sure there’s an appropriate power source near the tub area and that it’s safe to use with your new bathtub. This might require a quick check with an electrician if you’re not sure.
What to Expect on Installation Day
Installation day is an exciting time—it’s when all your planning and preparation finally come together. Here’s what you can expect, whether you’re DIY-ing it or relying on professional installers.
1. Removing the Old Tub:
The first step in the installation process is removing your old bathtub. This can be a bit noisy and messy, especially if the tub needs to be cut into smaller pieces to get it out of the bathroom. But don’t worry—this is all part of the process, and professional installers are equipped to handle it with minimal disruption.
2. Preparing the Space:
Once the old tub is out, the installation crew will prepare the space for the new one. This might include leveling the floor, adjusting the plumbing, and making sure the walls are ready to support the new tub. If there’s any old tiling that needs to be removed or repaired, this will happen during this phase as well.
3. Installing the New Tub:
With the space prepped and ready, it’s time to bring in the new tub. The installation crew will carefully place the tub in position, ensuring that it fits perfectly within the measurements you took earlier. They’ll also hook up the plumbing, install any necessary fixtures, and make sure everything is watertight.
4. Final Touches:
After the tub is securely in place, the crew will take care of any final touches. This includes sealing the edges, installing any new tiles or panels, and making sure everything looks just right. They’ll also do a thorough cleanup, so your bathroom is left in pristine condition.
5. Testing and Walkthrough:
Before the installation is complete, the crew will test the new tub to make sure everything is functioning properly. This includes checking the water flow, drain, and any additional features like jets or lights. They’ll also walk you through the operation and care of your new bathtub, so you’re fully comfortable using it.
After Installation: Enjoying Your New Bathtub
Once the installation is complete, it’s time to enjoy your new bathtub! Whether you’ve opted for a luxurious soaking tub, a practical walk-in model, or something in between, you can now relax knowing that your bathroom is not only beautiful but also safe and accessible.
At Cloud 9 Tubs, we’re committed to providing our customers with high-quality, lasting solutions. That’s why we offer a lifetime warranty on our products, so you can have peace of mind knowing that your new tub is built to last.
Final Thoughts
Replacing a bathtub might seem like a daunting task, but with the right preparation and a trusted team by your side, it can be a smooth and rewarding experience. From the initial measurements to the final touches, each step is an opportunity to create a bathroom that not only meets your needs but also enhances your home’s comfort and style.
Thank you for following along with our guide on how to measure a bathtub for replacement. We hope it’s given you the confidence and knowledge to tackle your bathtub replacement project with ease. If you have any questions or are ready to schedule your installation, don’t hesitate to reach out to us at Cloud 9 Tubs. We’re here to help every step of the way.
Blog
